In today’s digital world, having a website is no longer a luxury—it’s a necessity. Whether you’re a small business owner, a freelancer, or someone looking to showcase your portfolio, Wix Editor makes creating a website an easy, accessible, and enjoyable process. This guide will walk you through the steps to design a professional website using Wix Editor, even if you have zero coding experience.
1. Why Choose Wix Editor?
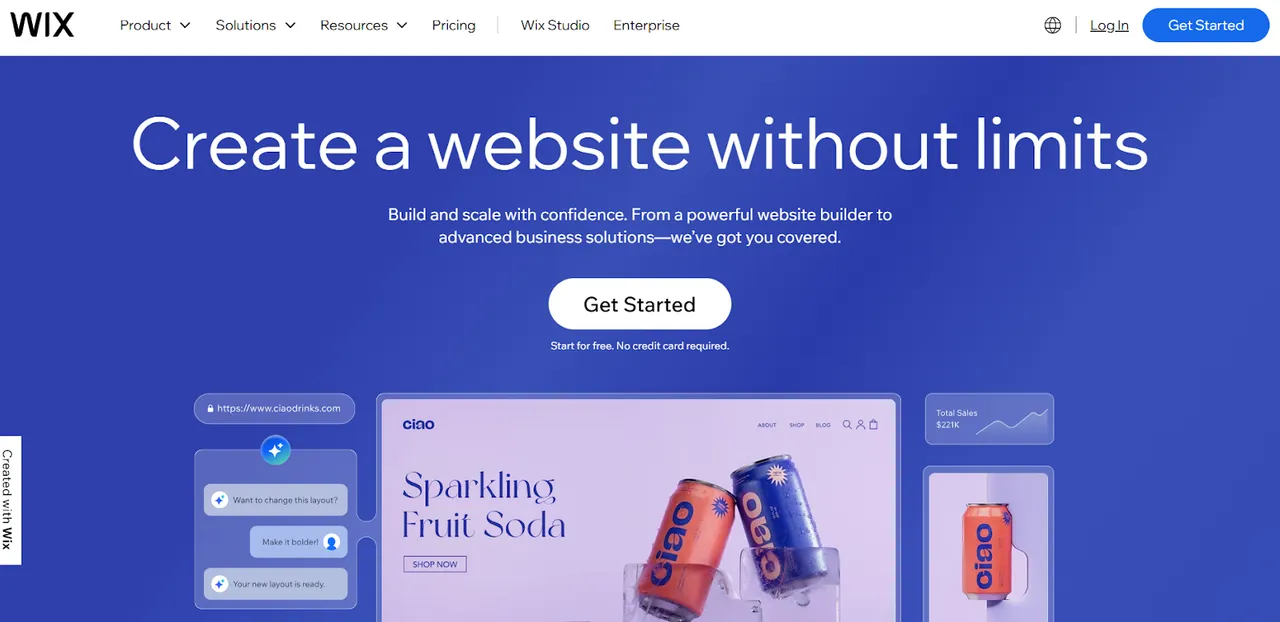
Wix Editor is a powerful, intuitive tool that allows users to create visually stunning websites using its drag-and-drop interface. Unlike many other platforms, Wix combines simplicity with flexibility, making it a perfect choice for beginners and advanced users alike.
Key Benefits:
-
Fully customizable templates to match your vision.
-
An extensive library of tools and features for every need.
-
Seamless integration of apps to expand your website's functionality.
-
Mobile-friendly design tools to ensure your site looks great on any device.
2. Step-by-Step Guide to Creating Your Wix Website
Step 1: Sign Up and Choose a Plan
-
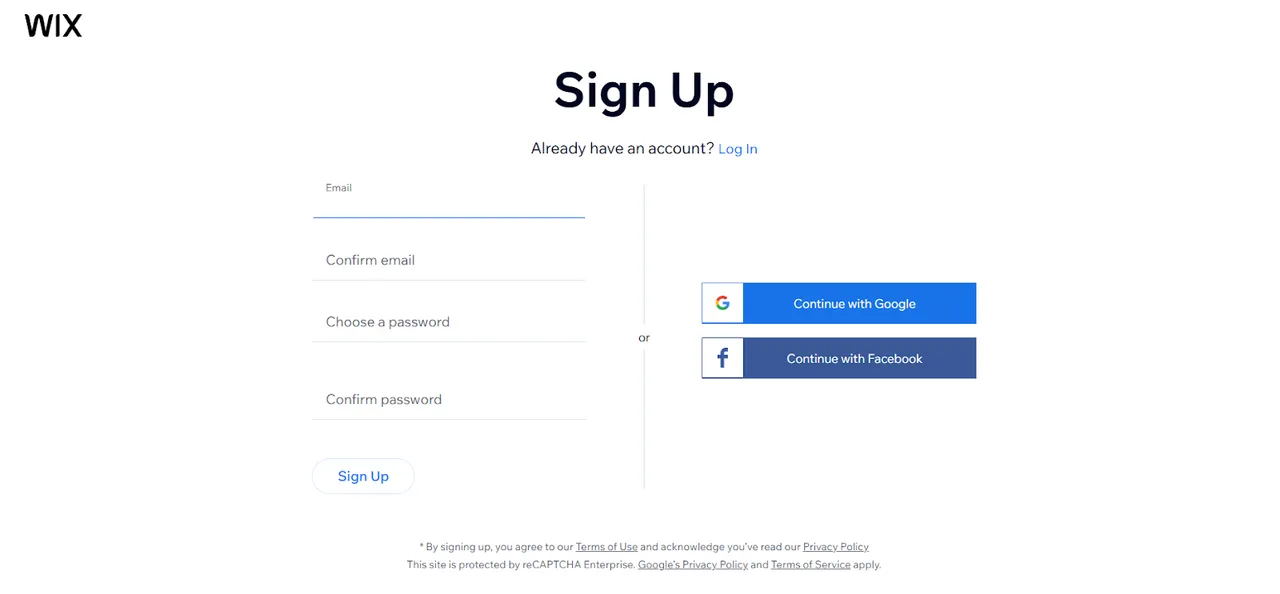
Visit Wix.com and create a free account.
-
Select a plan that fits your needs—whether it’s for personal use, blogging, or e-commerce.
-
Start by clicking “Create New Site” after logging in.
Pro Tip: If you’re just starting, the free plan is great for testing. For a professional touch, choose a paid plan to unlock features like custom domains and ad removal.
Step 2: Select a Template
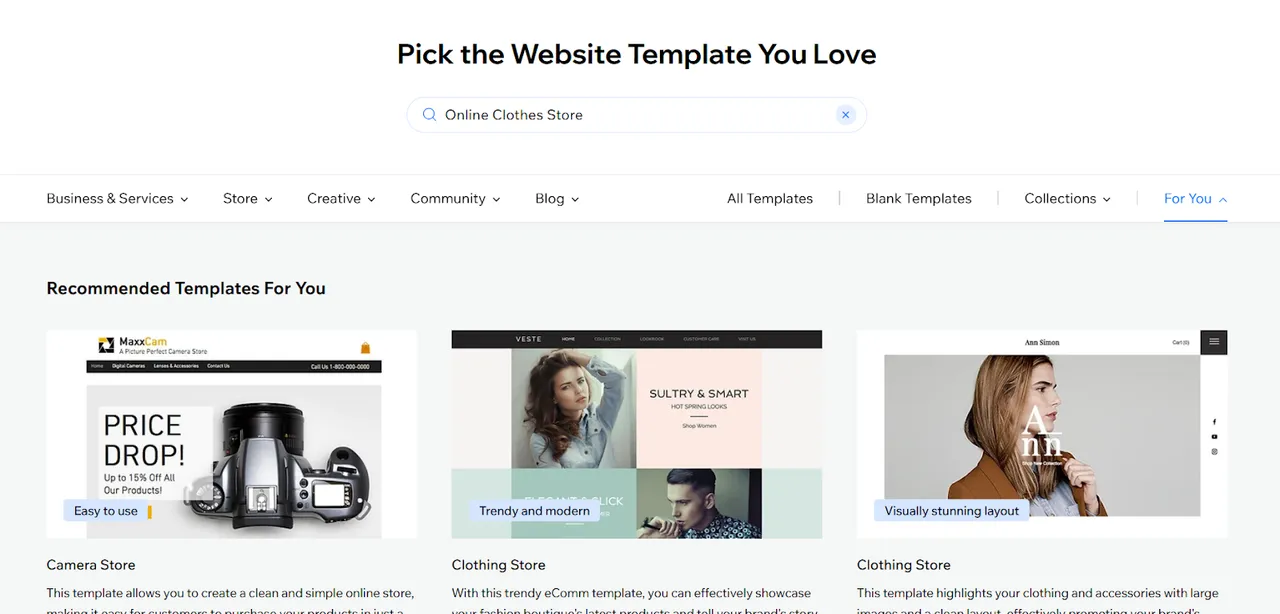
Wix offers over 800 templates tailored to various industries, including business, fashion, restaurants, and personal blogs.
-
Browse templates by category or search using keywords.
-
Preview multiple designs to see which one aligns with your goals.
-
Click “Edit” to start customizing your selected template.
Pro Tip: Choose a template that reflects your brand identity. Even though all templates are customizable, starting with a close match saves time.
Step 3: Customize Your Website Using Drag-and-Drop
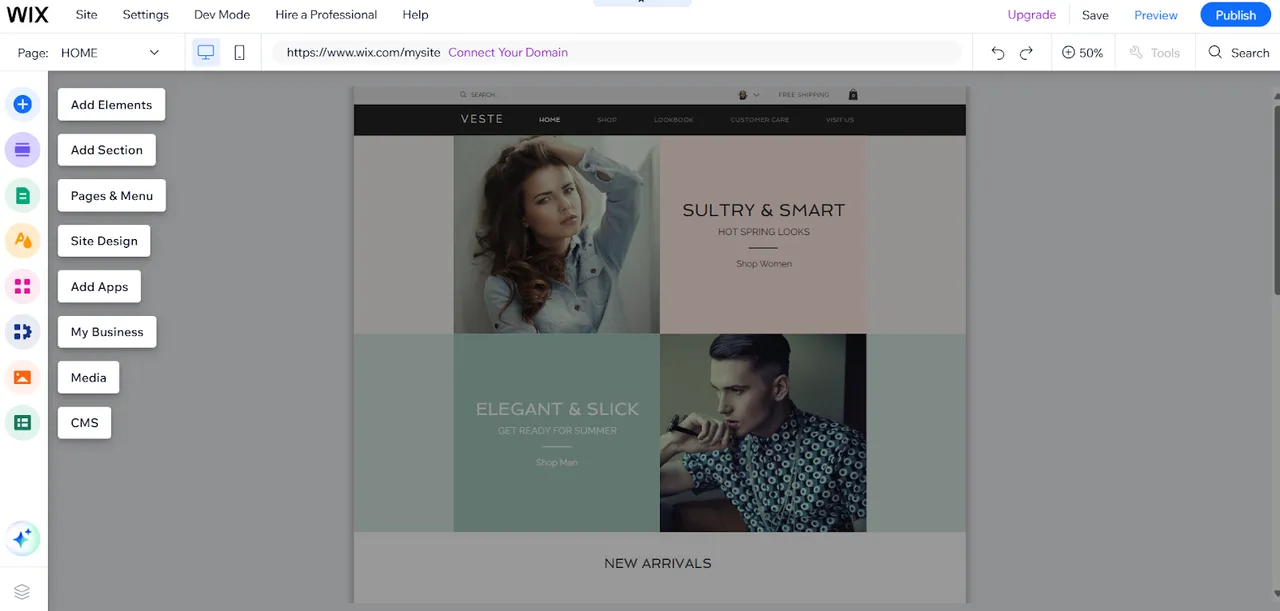
Wix Editor allows you to drag and drop elements like text, images, and buttons wherever you want on the page.
How to Customize:
-
Edit Text: Click on text boxes to type, change fonts, adjust sizes, or apply colors.
-
Add Elements: Use the Add (+) menu to include images, videos, forms, and more.
-
Change Backgrounds: Select from images, colors, or videos for your site’s backdrop.
-
Manage Pages: Add new pages or rearrange them in the menu.
Pro Tip: Use the alignment tools to ensure your design is polished and professional.
Step 4: Add Advanced Features
Depending on your website’s purpose, you can integrate advanced features to enhance functionality.
Popular Features to Consider:
-
E-commerce Tools: Add a store to sell products or services.
-
Blogs: Start a blog section to engage visitors with fresh content.
-
Contact Forms: Allow visitors to get in touch with you.
-
Booking System: Perfect for businesses like salons or consultants.
Pro Tip: Visit the Wix App Market to discover hundreds of free and premium apps to expand your site’s capabilities.
Step 5: Optimize for Mobile
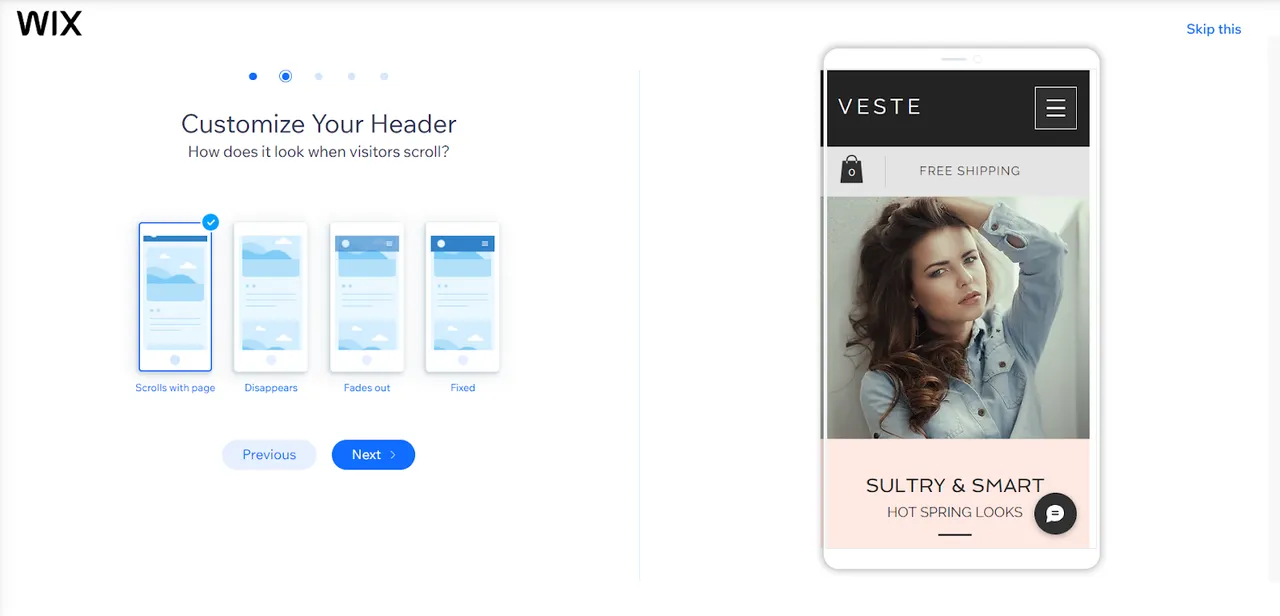
A significant portion of web traffic comes from mobile devices, so ensuring your site is mobile-friendly is crucial.
-
Switch to Mobile View in the Wix Editor.
-
Adjust elements to fit the smaller screen.
-
Test functionality, such as menus, buttons, and forms.
Pro Tip: Use the “Mobile Optimization” feature to make your site responsive with minimal effort.
Step 6: Preview and Publish Your Website
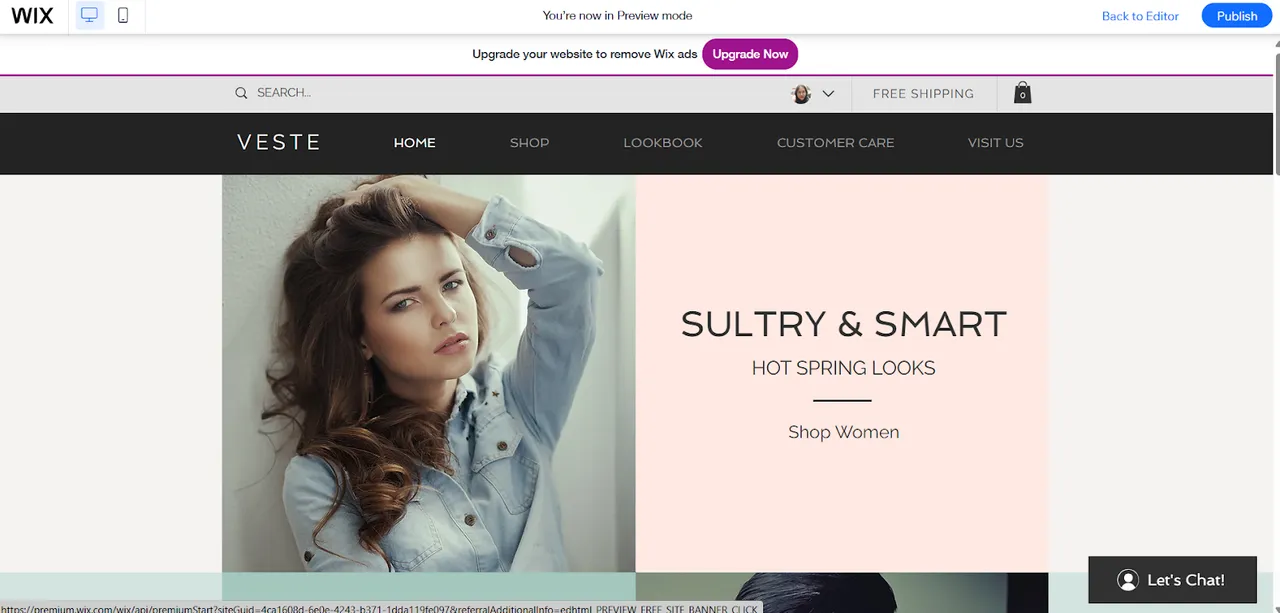
Before going live, preview your site to check how it looks on desktop and mobile.
-
Click “Preview” to see the site in action.
-
Test links, buttons, and forms to ensure everything works smoothly.
-
Once satisfied, click “Publish” to make your site live.
Pro Tip: Connect your custom domain to give your website a professional edge.
3. Tips for a Successful Website on Wix
-
Focus on Navigation: Ensure your menu is simple and intuitive.
-
Use High-Quality Images: Professional visuals make a big difference in credibility.
-
SEO Optimization: Use Wix’s built-in SEO tools to improve search engine rankings.
-
Keep It Updated: Regularly update content, such as blog posts or product listings.
4. Troubleshooting Common Issues
-
Slow Loading Speeds: Optimize images and limit the use of heavy animations.
-
Alignment Problems: Use the gridlines and snap-to tools for consistency.
-
Broken Links: Double-check all hyperlinks before publishing.
Conclusion
With Wix Editor, creating a professional website has never been easier. Its user-friendly interface, extensive features, and endless customization options make it a top choice for anyone looking to establish an online presence. Whether you’re building a personal portfolio, a blog, or an e-commerce store, Wix Editor provides all the tools you need to bring your vision to life.
Ready to start your website journey? Visit Wix.com and create your site today!

